If you’ve ever struggled to make perfect poached eggs on the stove, you are not alone. I used to mess them up all the time—runny whites, broken yolks, and a lot of frustration. That’s why I was so excited when I discovered the ULTIMATE AIR FRYER POACHED EGGS method.
This ULTIMATE AIR FRYER POACHED EGGS recipe completely changed my breakfast routine. No swirling water, no stress, and no guessing. Just simple steps and perfect eggs every single time.
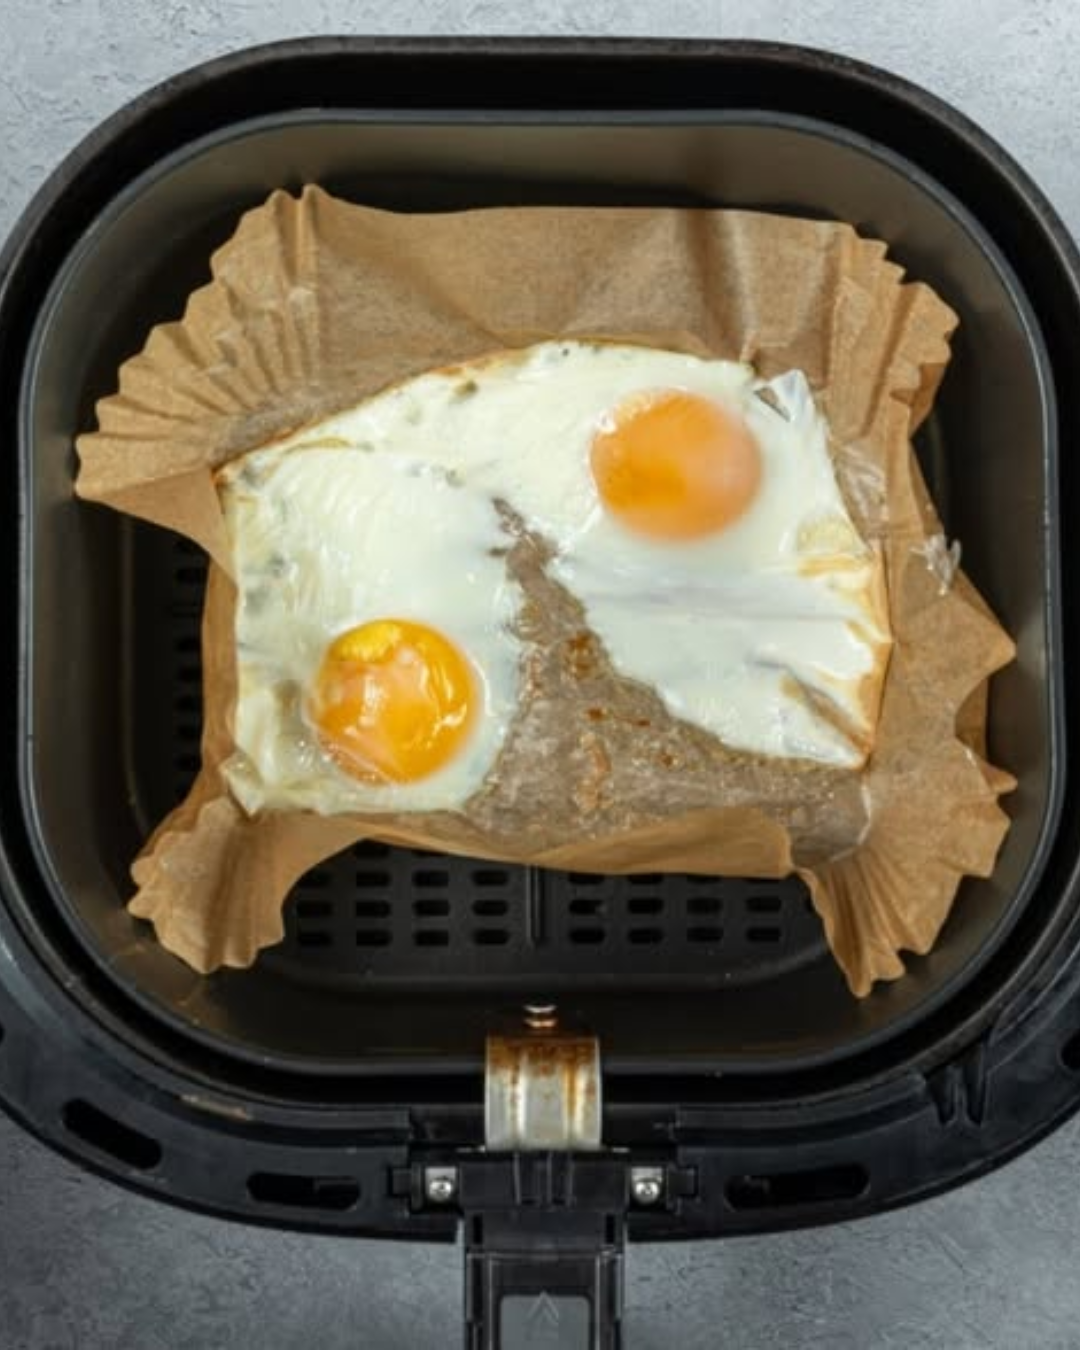
What makes these ULTIMATE AIR FRYER POACHED EGGS so special is how easy and clean the process is. The air fryer does most of the work, and you get soft whites with perfectly runny yolks—just like a café-style breakfast.
They are also a great healthy option. Eggs are packed with protein, and this method uses no extra oil or butter.
Why You Will Love This Recipe
- No boiling water needed – super easy method
- Perfect runny yolks every time – café-style eggs
- Quick breakfast option – ready in minutes
- Healthy and high in protein – great for energy
- Beginner-friendly recipe – no cooking stress
These ULTIMATE AIR FRYER POACHED EGGS are perfect for busy mornings or healthy meal prep.
Ingredients List
Here’s what you need for ULTIMATE AIR FRYER POACHED EGGS:
- 2 large fresh eggs
- 2 small ramekins or heat-safe bowls
- 1–2 tablespoons water (per ramekin)
- Salt (to taste)
- Black pepper (optional)
- Cooking spray (optional, for easy release)
That’s it! Very simple ingredients for perfect ULTIMATE AIR FRYER POACHED EGGS.
Step-by-Step Instructions
Step 1: Prepare the Ramekins
Lightly spray ramekins with cooking spray.
Add 1–2 tablespoons of water into each ramekin.
Step 2: Crack the Eggs
Carefully crack one egg into each ramekin.
Try not to break the yolk. This is important for perfect ULTIMATE AIR FRYER POACHED EGGS.
Step 3: Preheat Air Fryer
Preheat your air fryer to 160°C (320°F) for a few minutes.
Step 4: Cook the Eggs
Place ramekins in the air fryer basket.
Cook for 6–8 minutes depending on how runny you like the yolk.
Step 5: Check and Remove
Carefully remove ramekins.
Use a spoon to lift out the eggs.
Season with salt and pepper.
Your ULTIMATE AIR FRYER POACHED EGGS are ready!
Pro Tips & Variations
- Use very fresh eggs for best shape
- Don’t overcook or yolks will become firm
- Add herbs like parsley or chives for flavor
- Use silicone cups if available for easy removal
- Try different timings for softer or firmer yolks
A common mistake is cooking too long. Perfect ULTIMATE AIR FRYER POACHED EGGS need careful timing.
Health Benefits
These ULTIMATE AIR FRYER POACHED EGGS are not just easy—they are also very healthy:
- High in protein supports muscles and energy
- Low in calories makes them diet-friendly
- Rich in vitamins like B12 and D
- No added oil or fat needed
- Great for keto and low-carb diets
They are a simple, nutritious breakfast option.
Serving Suggestions
Here are some tasty ways to enjoy ULTIMATE AIR FRYER POACHED EGGS:
- On toasted bread or sourdough 🍞
- With avocado slices 🥑
- Over salad bowls 🥗
- On breakfast muffins or English muffins 🧁
- With smoked salmon for a gourmet touch 🐟
They fit perfectly into any healthy breakfast or brunch.
Storage Tips
- Best eaten fresh right away
- Not ideal for long storage
- You can keep cooked eggs in fridge for up to 1 day
- Reheat gently in warm water (not microwave)
Tip: Always prepare fresh for best texture.
Frequently Asked Questions (FAQs)
1. Can I cook multiple eggs at once?
Yes, just use multiple ramekins.
2. Do I need to preheat the air fryer?
Yes, it helps cook eggs evenly.
3. Can I skip water in ramekins?
No, water helps create steam for poaching.
4. Why did my yolk break?
Egg may not be fresh or was handled roughly.
5. Can I make them softer or firmer?
Yes, adjust cooking time by 1–2 minutes.
Conclusion
These ULTIMATE AIR FRYER POACHED EGGS are the easiest way to enjoy perfect poached eggs at home. No mess, no stress—just soft whites and runny yolks every time.
If you love quick, healthy breakfasts, these ULTIMATE AIR FRYER POACHED EGGS will become your new favorite kitchen hack.
Try them once, and you’ll never go back to the stovetop method again! 🍳✨
Leave a Reply